Beginner
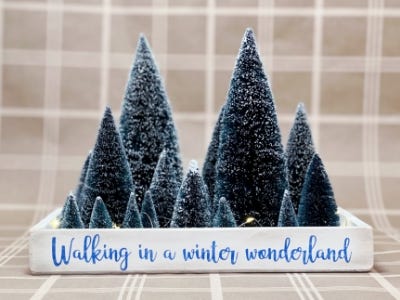
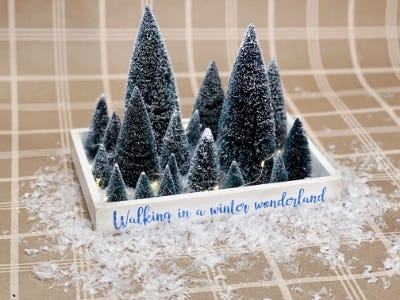
Winter Wonderland Bottle Brush Tree Centerpiece


Supplies
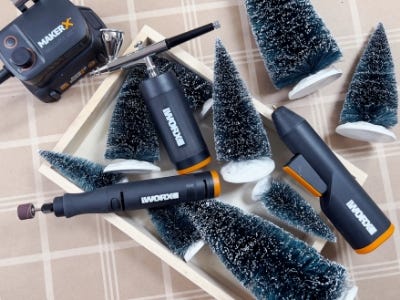
- MAKERX Rotary Tool
- MAKERX Air Brush
- MAKERX Glue Gun
- Wooden Tray
- Assorted bottle brush trees of all sizes
- White acrylic paint
- Adhesive stencil or Cricut
- Blue air brush paint
- Faux snow
- Miniature fairy lights
Tool Tip: Before airbrushing, test and practice on a scrap piece of paper.
Step-by-Step Instructions
Steps
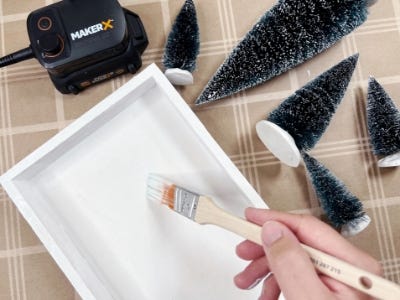
1. Start by preparing the tray by removing any labels or sanding down rough edges. Paint the tray a light coat of white acrylic paint and let dry.
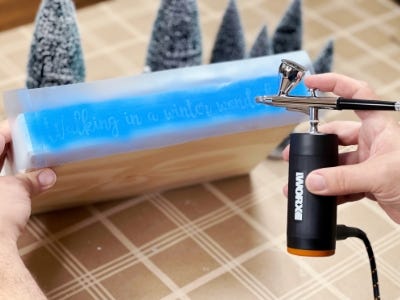
2. Use a cutting machine to cut out a wintery/holiday saying or use an already made adhesive stencil. Apply the stencil to the front of the tray, making sure to press down the stencil well especially around any detailed areas for the best result.
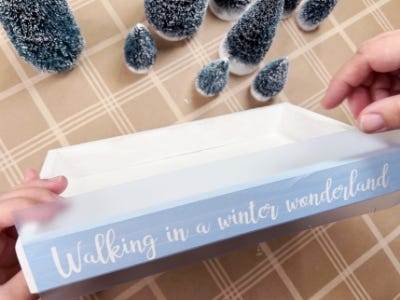
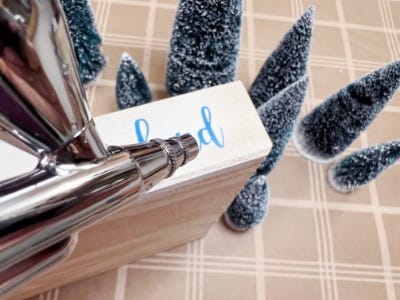
3. Fill the airbrush reservoir halfway with blue airbrush paint. Test on a scrap piece of paper then use the airbrush to paint the stencil. Paint the stencil in stages, start off lightly then continue to paint until it’s the desired look. Peel off the stencil while the paint is still wet. Tip: The more paint you add the more of a chance there is for bleeping, keep it on the lighter side for the cleanest result. Carefully peel while wet.
4. Empty the blue paint from the airbrush reservoir and add brown paint. Lightly spray the edges of the tray for an aged look.
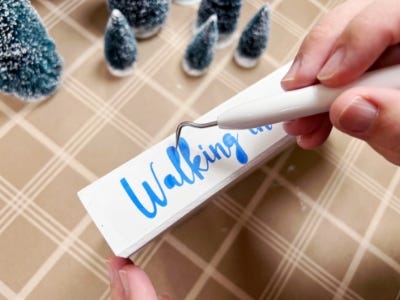
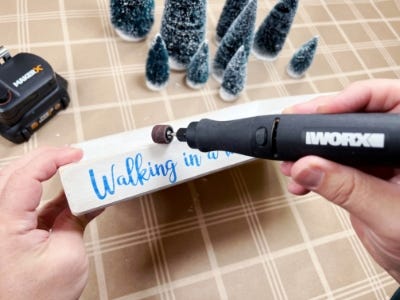
5. Once the tray is completely dry, use the Rotary Tool to lightly distress the area over the stencil and the entire tray for that perfect holiday nostalgic look. Tip: Experiment with different Rotary Tool attachments until happy with the outcome.
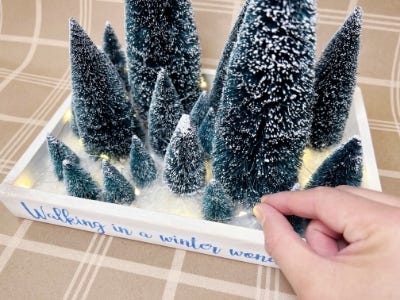
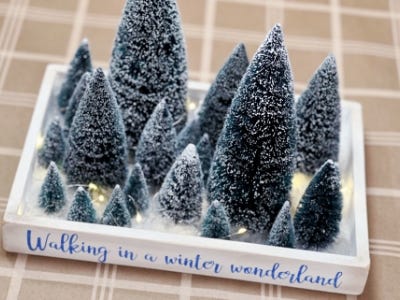
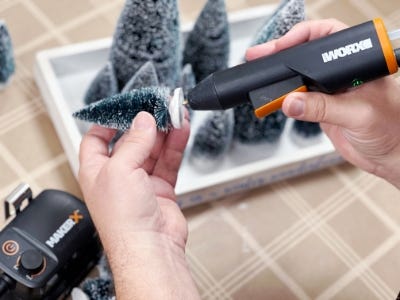
6. Arrange and hot glue the bottle brush trees starting with the larger trees in the center of the tray. Continue to fill in smaller trees around the center area until the whole tray is full.
7. Finish the project by filling in any empty areas of the tray with faux snow and light it up by wrapping fairy lights in and around the trees.
